Making your own diaper bag backpack can be a smart and rewarding project for parents. Store-bought diaper bags often miss special features you want or need. When you make it yourself, you control the size, pockets, style, and materials. Plus, you can save money and create something unique for your baby’s needs. This step-by-step guide will help you design, prepare, and sew a diaper bag backpack that’s practical, durable, and attractive—even if you’re new to sewing.
Why Make Your Own Diaper Bag Backpack?
Homemade diaper bag backpacks offer customization that most commercial bags can’t match. You can pick the number of compartments, choose waterproof fabric, and add features like insulated bottle pockets or changing pads. Many parents find DIY bags more comfortable because they can adjust the straps to fit perfectly.
Also, making your own bag lets you control costs. A quality store-bought diaper backpack can cost anywhere from $40 to $150. With smart material choices, your homemade version may cost half as much. Finally, there’s a sense of pride in carrying something you made for your child.
Essential Materials And Tools
Before you start, gather these materials:
- Sturdy fabric (canvas, denim, or waterproof nylon) – 1.5 yards
- Lining fabric (cotton or polyester) – 1 yard
- Interfacing (for structure) – 1 yard
- Zippers (1 long for main opening, 2-4 short for pockets)
- Adjustable straps (webbing or matching fabric)
- Plastic buckles and sliders
- Sewing machine and thread
- Scissors
- Measuring tape
- Pins or clips
- Chalk or fabric marker
Optional extras:
- Elastic bands for pocket tops
- Snap buttons
- Insulated fabric for bottle pockets
A common mistake is using thin fabric. Diaper bags face heavy use, so choose sturdy material for both the outer shell and lining.
Planning Your Diaper Bag Backpack
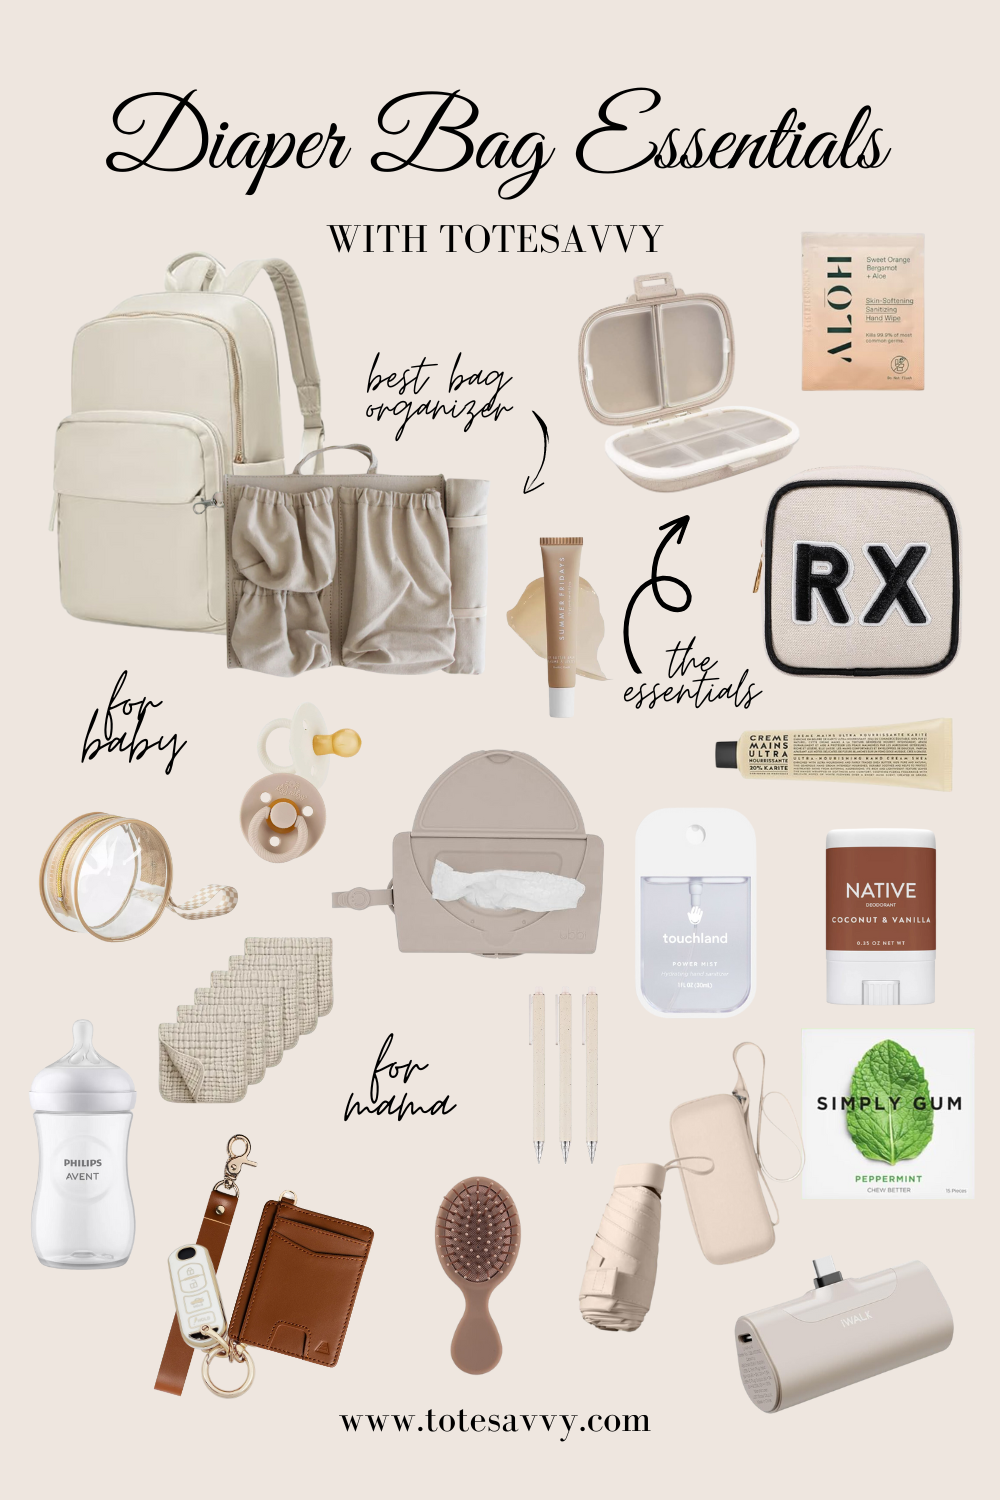
Think about how you’ll use the bag. Do you need lots of small pockets? Will you carry bottles, clothes, toys, or electronics? Sketch your ideal layout on paper. A practical diaper bag usually includes:
- One large main compartment
- 2–3 exterior pockets (for wipes, keys, phone)
- Insulated bottle pockets
- Wet/dry zipper pouch
- Changing pad compartment
Don’t forget the straps. Backpack straps should be padded and adjustable for comfort.
Sample Layout Dimensions
| Section | Recommended Size (inches) |
|---|---|
| Main compartment | 14 (H) x 12 (W) x 6 (D) |
| Front pocket | 8 x 10 |
| Side bottle pocket | 6 x 6 |
| Changing pad pouch | 10 x 12 |
Adjust these as needed for your routine.
Cutting And Preparing The Fabric
Measure each piece carefully and add a ½ inch seam allowance on all sides. Cut:
- 2 pieces for the bag front/back
- 2 pieces for sides
- 1 base piece
- Pocket pieces (sizes as per your design)
- Lining pieces (same as above)
- Strap pieces (or use pre-made webbing)
Iron interfacing onto the wrong side of main fabric for extra strength. Mark zipper placement, pocket positions, and strap attachment points with chalk.

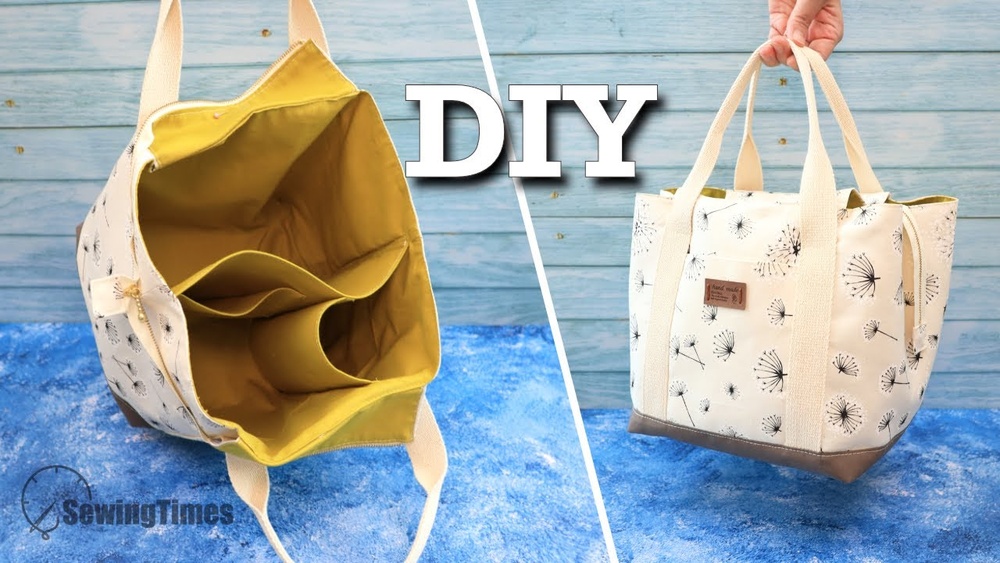
Credit: www.amazon.com
Sewing Step-by-step
- Make the pockets first. Sew the sides and add zippers or elastic to each pocket piece.
- Attach pockets to the main panels. Topstitch around pocket edges for extra durability.
- Sew the main body. Attach sides and base to the front and back panels. Reinforce corners with extra stitching.
- Insert zippers. Sew the main zipper along the top opening.
- Add lining. Sew the lining pieces together, leaving an opening to turn the bag right side out.
- Assemble straps. Sew or attach straps to the back panel, reinforcing with an “X” stitch for strength.
- Join lining and bag. Place the lining inside the main bag, right sides together. Sew around the top edge, then turn right side out through the lining opening. Stitch the opening closed.
- Finish details. Add buckles, adjusters, and attach any snap buttons.
Comparing Store-bought Vs. Homemade Diaper Bag Backpacks
| Feature | Store-Bought | Homemade |
|---|---|---|
| Customization | Limited | Full control |
| Material quality | Varies | Choose yourself |
| Price | $40–$150 | $20–$60 (avg.) |
| Emotional value | Low | High |
Homemade bags often last longer because you can repair or modify them later.
Custom Features And Extra Tips
Insulated bottle pockets: To keep bottles cool or warm, line pockets with insulating fabric. This is easy to sew and makes a big difference for outings.
Waterproof lining: Add a layer of waterproof material (like PUL fabric) inside the main compartment or wet pouch. This protects against leaks from bottles or used diapers.
Changing pad compartment: Make a flat pocket at the back of the bag for a foldable changing pad. This keeps it handy and clean.
Key leash: Attach a small strap with a clip inside the bag. This prevents lost keys—a feature many parents love but forget to add.
Test the straps: Before final assembly, try the straps on your shoulders. Adjust length and placement if needed for comfort.
A common beginner’s mistake is sewing all pieces together before checking zipper and pocket placement. Always pin or baste pieces first, then check the layout.

Credit: tacticalbabygear.com
Care And Maintenance
Choose machine-washable fabrics if possible. To clean, remove all items, close zippers, and use a gentle cycle with mild soap. Air dry to protect the shape and structure.
Regularly check for loose threads, broken zippers, or worn straps. Repair issues early to extend your bag’s life.
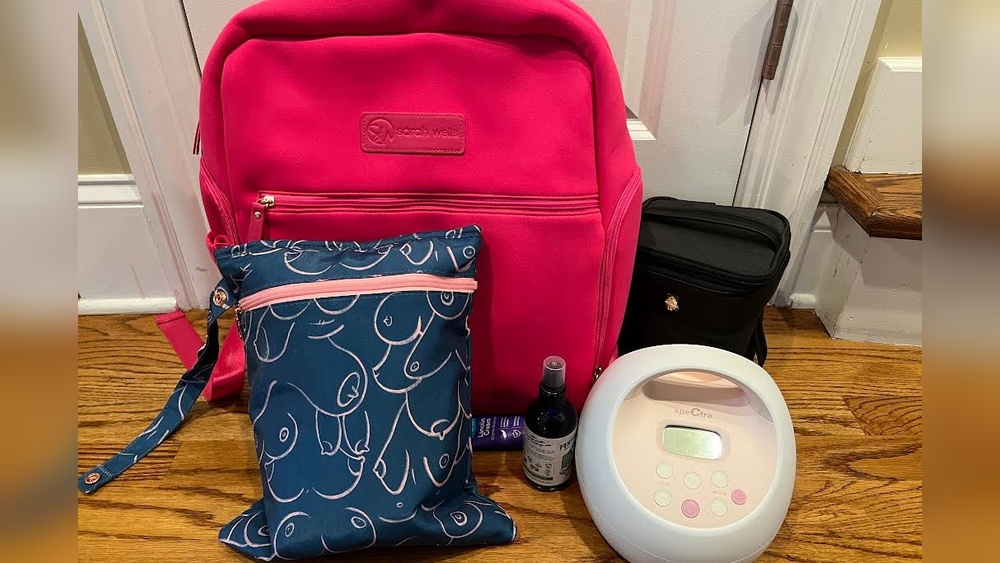
Real-life Example
Sarah, a mother of twins, made her own diaper bag backpack after finding store-bought options too small. She used canvas for the outer shell and waterproof lining inside. She added six pockets, including two for bottles and one for her phone.
After three years of daily use, the bag is still strong and has survived many spills and adventures.
Credit: www.totesavvy.com
Cost Breakdown Example
Here’s how the costs might look:
| Item | Estimated Cost (USD) |
|---|---|
| Main fabric (1.5 yards) | $15 |
| Lining fabric (1 yard) | $7 |
| Zippers (4 total) | $8 |
| Webbing and buckles | $5 |
| Thread, interfacing, extras | $10 |
| Total | $45 |
This is much less than most high-quality commercial diaper backpacks.
Frequently Asked Questions
What Fabric Is Best For A Diaper Bag Backpack?
The best choices are canvas, denim, or nylon for the outer shell. For lining, use cotton or waterproof polyester. Strong fabrics will last longer and handle spills better.
How to Make a Diaper Bag Backpack With Waterproof?
Add a waterproof lining like PUL (polyurethane laminate) inside the main compartment. You can also spray the outside with a fabric protector for extra water resistance.
How Many Pockets Should My Diaper Bag Have?
Most parents find 5 to 7 pockets ideal. This includes main space, bottle holders, a wipes pocket, and small pouches for keys or pacifiers.
Is It Possible To Sew A Diaper Bag Backpack By Hand?
Yes, but it’s much easier and faster with a sewing machine. Hand sewing strong fabrics and zippers is slow and can be hard for beginners.
Where Can I Find Good Sewing Patterns?
There are free and paid sewing patterns online. A trusted source is Craftsy, which offers step-by-step guides and video tutorials.
Making your own diaper bag backpack is a project that brings both function and joy. With planning and care, you’ll create a bag that fits your life perfectly and stands up to daily parenting adventures.